If you love the delectable cake pops from Starbucks, why not try making them at home? These bite-sized delights are perfect for any occasion and are sure to impress friends and family. Here’s a simple recipe to recreate those irresistible cake pops right in your kitchen!

Nutritional Value
Before diving into the recipe, here’s a quick look at the nutritional value of one Starbucks-style cake pop:

- Calories: Approximately 120
- Protein: 2g
- Fat: 5g
- Carbohydrates: 18g
- Sugar: 8g
Enjoy these treats in moderation as a delightful dessert or snack!
Ingredients
To make your own Starbucks-inspired cake pops, you’ll need the following ingredients:
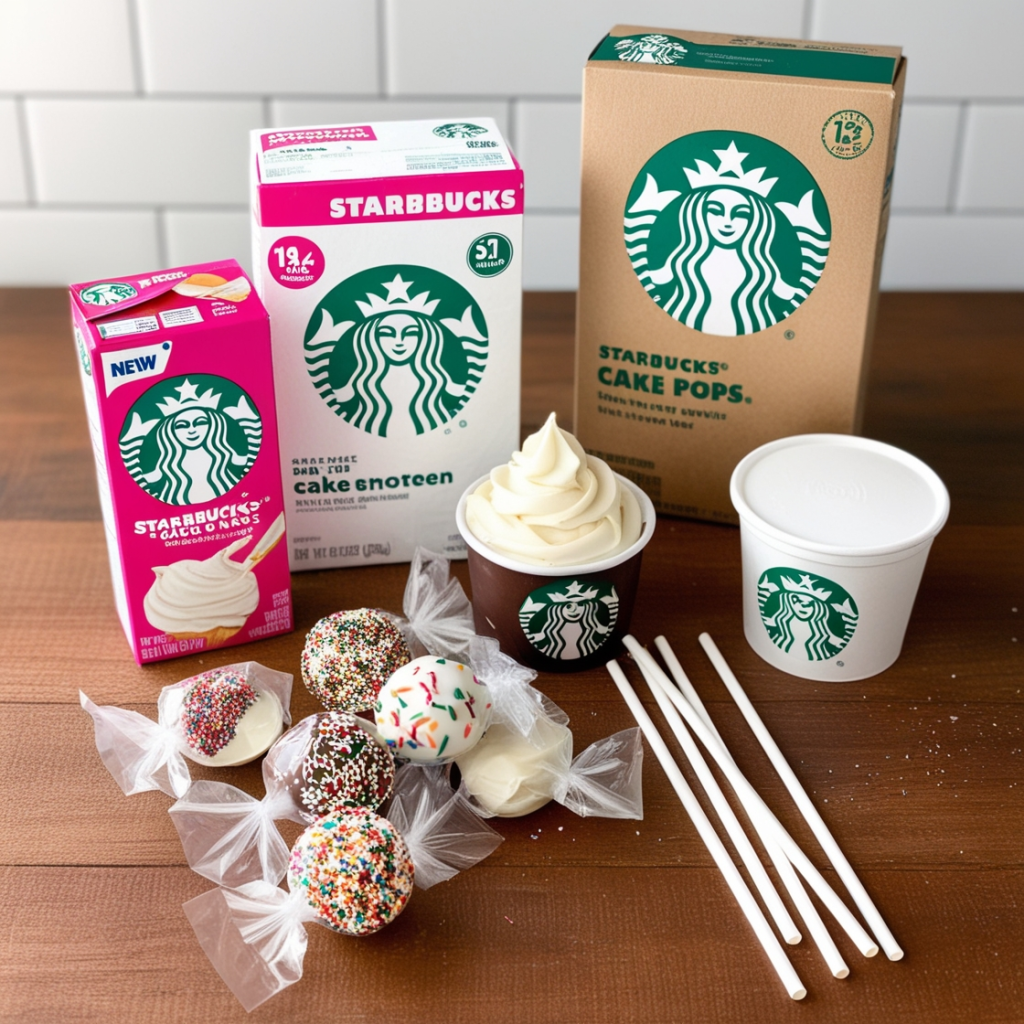
- For the Cake:
- 1 box of cake mix (any flavor you prefer)
- Ingredients required for the cake mix (usually water, oil, and eggs)
- For the Frosting:
- 1 cup of buttercream frosting (store-bought or homemade)
- For Coating:
- 1 cup of chocolate melting wafers (white, milk, or dark chocolate)
- Sprinkles or crushed nuts (optional, for decoration)
- Other Essentials:
- Lollipop sticks
- Styrofoam block or a cake pop stand (for drying)
Instructions
Follow these simple steps to create your Starbucks-style cake pops:

- Bake the Cake: Prepare the cake mix according to the package instructions. Once baked, allow it to cool completely.
- Crumb the Cake: Once cooled, crumble the cake into a large bowl until it resembles fine crumbs.
- Mix with Frosting: Add the buttercream frosting to the cake crumbs. Start with half a cup and mix until the mixture is moist but not overly sticky. Adjust the amount of frosting as needed.
- Form Cake Balls: Using your hands, roll the mixture into small balls, about 1 inch in diameter. Place them on a baking sheet lined with parchment paper.
- Chill the Cake Balls: Refrigerate the cake balls for about 30 minutes to help them firm up.
- Melt the Chocolate: While the cake balls are chilling, melt the chocolate melting wafers in a microwave-safe bowl. Heat in 30-second intervals, stirring until smooth.
- Insert Sticks: Remove the chilled cake balls from the fridge. Dip the tip of each lollipop stick into the melted chocolate, then insert it into the center of each cake ball. This helps the stick stay in place.
- Coat the Cake Pops: Dip each cake ball into the melted chocolate, ensuring it is fully coated. Allow excess chocolate to drip off.
- Decorate: If desired, sprinkle your cake pops with sprinkles or crushed nuts before the chocolate hardens.
- Drying: Insert the sticks into a styrofoam block or cake pop stand to dry completely.
- Enjoy: Once the chocolate is set, your homemade cake pops are ready to be enjoyed!
Variations
Get creative with your cake pops! Here are some fun variations to try:
- Flavor Combinations: Experiment with different cake mixes and frostings, such as red velvet with cream cheese frosting or chocolate cake with mint frosting.
- Decorative Coatings: Use colored melting wafers to create a festive look for holidays or special occasions.
- Fillings: Consider adding a surprise filling inside the cake balls, such as fruit preserves or flavored creams.
Frequently Asked Questions
1. How long can cake pops be stored? Cake pops can be stored in an airtight container in the refrigerator for up to a week.
2. Can I freeze cake pops? Yes, cake pops can be frozen for up to three months. Just ensure they are well-wrapped to prevent freezer burn.
3. What’s the best way to melt chocolate? The microwave is convenient, but you can also use a double boiler for more controlled melting.
4. Can I make cake pops without frosting? Yes, you can make cake pops using cream cheese or ganache instead of frosting for a different texture and flavor.
5. How do I keep my cake pops from cracking? Make sure to chill the cake balls thoroughly before dipping, and be gentle when handling them to avoid cracking.
Conclusion
Making Starbucks-inspired cake pops at home is a fun and rewarding activity that anyone can enjoy. With this easy recipe, you can whip up a batch of these sweet treats to share with friends, family, or even just for yourself! Get creative with flavors and decorations, and indulge in a delightful dessert that brings the coffee shop experience right to your kitchen. Happy baking!


